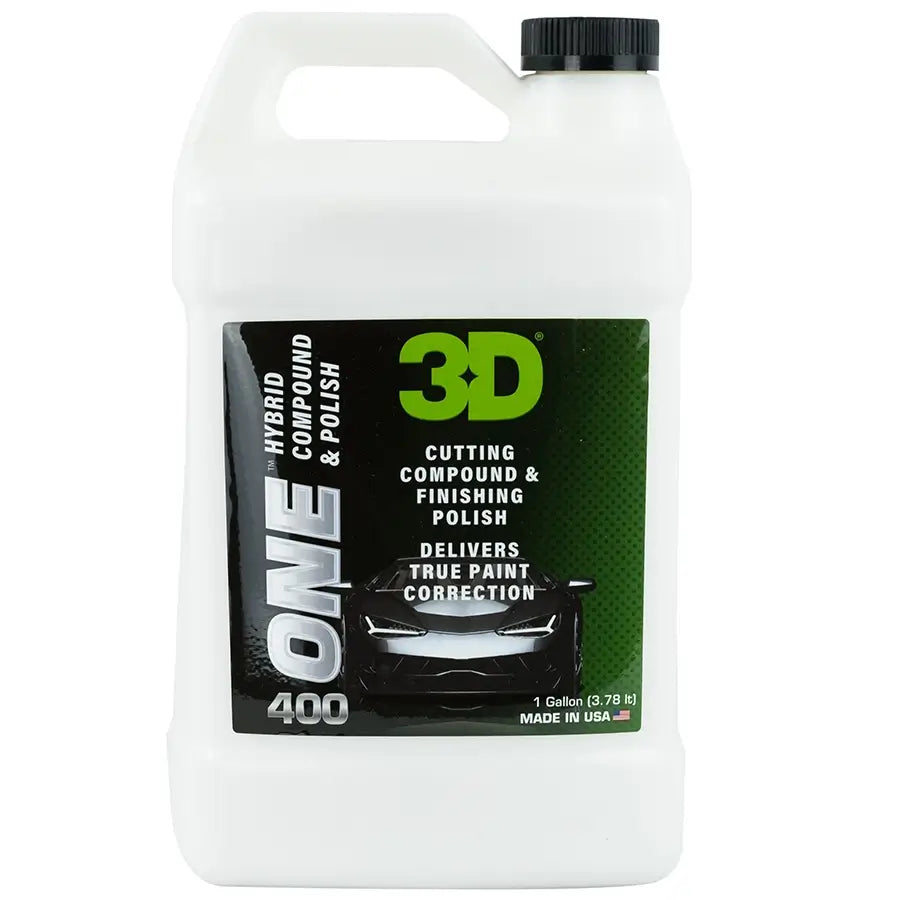
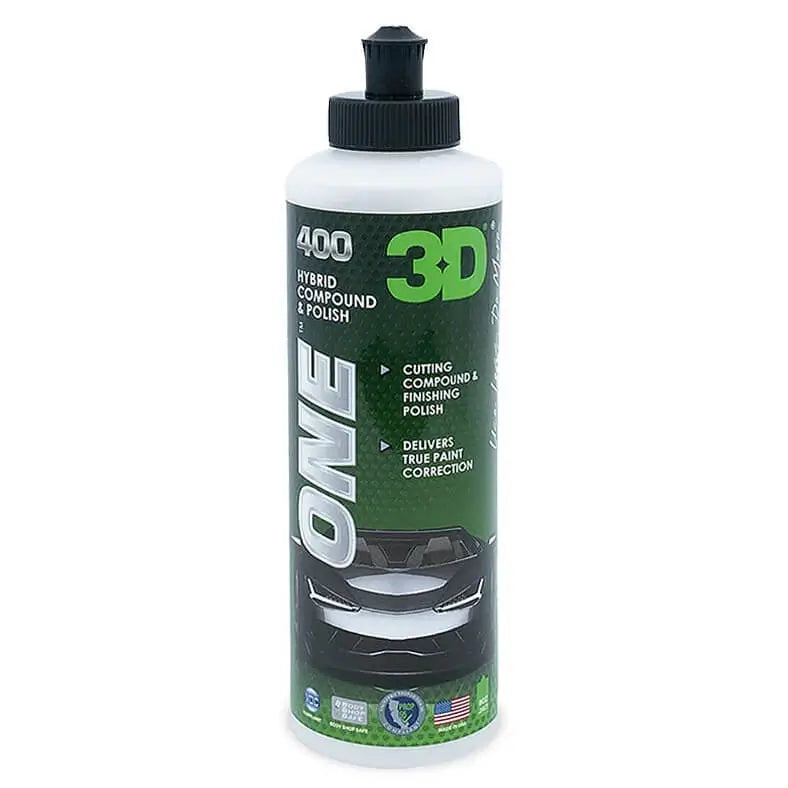
3D ONE Hybrid Compound & Polish
3D ONE is a hybrid compound and polish that lets you adjust paint correction by changing the pad and polishing system. It combines cutting ability with finishing potential in one abrasive product, helping simplify jobs that range from swirl removal to gloss refinement. Its long working cycle, low dusting and easy wipe-off support a controlled, inspectable correction process.
Key benefits
- Compound and finishing polish in one abrasive formula.
- Pad choice adjusts the balance of cut and clarity.
- Long working time with low dust and easy residue removal.
- True abrasive correction rather than a wax-protection step.
Choosing and using this product
Use a more aggressive suitable pad when the finish needs stronger correction, or a soft polishing or finishing pad when refinement is the priority. A rotary with an appropriate wool pad can provide a more aggressive approach, while an orbital machine with foam offers other balances of cut and finish. The correct combination depends on the paint and the defects, so a test spot remains the starting point.
A single product does not always mean a single pass or a single pad. Some finishes can be improved to the desired standard in one stage; others need a cutting pass followed by a finer combination using ONE again. Inspect after each step rather than relying on the product name to determine the process.
ONE uses 3D’s abrasive technology to remove correctable paint defects such as swirls, oxidation and certain water-spot marks. It does not make the finish immune to heat, excessive material removal or towel marring. Use clean pads and towels, keep the machine moving and stop when further correction would compromise the remaining finish.
Easy wipe-off helps you inspect the actual result without excessive rubbing. Remove residue as you finish each manageable section rather than leaving product on the vehicle overnight. If the towel begins to drag or smear, change to a clean face and reassess product loading, pad condition and panel temperature.
How to use
- Wash and dry the vehicle thoroughly. Remove bonded contamination where needed, then inspect the paint under a strong light. Mask sensitive trim, sharp edges and adjacent surfaces before machine polishing.
- Choose a clean pad and a compatible rotary or dual-action polisher. Begin with a small test area and the least aggressive combination capable of meeting your correction goal. Follow the machine and pad manufacturers’ operating guidance.
- Shake the bottle and apply a modest amount to the pad. Spread at low speed before working the section with overlapping passes. Keep the pad controlled and moving; concentrated pressure and excessive heat can damage the finish.
- Work manageable sections and monitor the paint and pad temperature. Clean the pad regularly and change it when saturated with residue. A clean working face gives more consistent results than repeatedly adding extra product.
- Wipe residue away with a clean, soft microfiber towel and inspect from several angles. Adjust the pad or technique if needed. Stop correcting defects that cannot be safely removed within the available paint thickness.
- Complete any required finishing stage, remove remaining residue and prepare the surface for your chosen wax, sealant or coating. Follow that protection product’s preparation and curing directions.
Aftercare and maintenance
After correction, protect the finish with a suitable wax, sealant or coating. Maintain it with a gentle car shampoo, clean wash mitts and soft drying towels. Avoid repeated polishing as routine maintenance: abrasive correction removes a small amount of material each time. Clean polishing pads promptly, let them dry fully and keep finishing towels separate from wheel or engine towels.
Frequently asked questions
Will one pass remove every defect?
No. Paint hardness, defect depth, pad choice and technique all affect the result. A test spot establishes a practical target before you commit to the whole vehicle.
Can it repair deep scratches?
Abrasive polishing can improve defects within the finish, but scratches through the clear coat, paint failure and thin edges need a different repair approach. Preserving sound paint takes priority over chasing every mark.
Practical detailing tips
Inspect the test spot after wiping away polishing residue, using both direct light and a broader reflection. Strong spot lighting helps reveal swirls; an even reflection makes haze easier to see. If a more aggressive pad improves correction but reduces clarity, plan a separate finishing pass instead of increasing pressure indefinitely. Keep a record of the pad and product combination that worked on that particular paint.
For repainted panels, confirm that the paint is ready for correction with the painter or paint-system instructions. A product described as suitable for body shops does not establish the cure schedule of every refinish system. Work especially carefully near panel edges, body lines, badges and areas that may have been polished before.
ONE is a useful choice when you want flexibility across a mixed correction job. A bonnet with heavier wash marks may need a different pad from a lightly marked door, while a repainted panel can respond differently from factory paint beside it. Keep the test area representative of the panel being corrected and adjust the method when the finish changes.
After correction, decide how the vehicle will be protected. ONE is a compound and polish, so a separate wax, sealant or ceramic coating completes the protection stage. If a ceramic coating is planned, remove polishing residue using that coating system’s approved preparation method and observe its curing requirements. For a simpler enhancement that also leaves wax protection, compare ONE with 3D SPEED before choosing the process.
Related 3D products
Complete your detailing routine with 3D Light Purple Foam Polishing Pad, 3D Black Foam Finishing Pad, 3D ACA 520 Finishing Polish, 3D Ceramic Coating+ Graphene Infused 30ml, 3D SPEED All-in-One Polish & Wax.