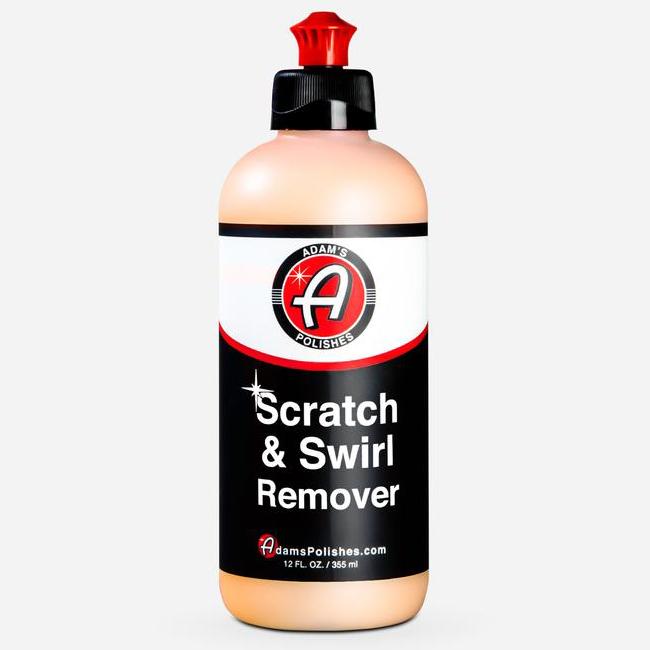
Adam's Scratch & Swirl Remover 12oz — improve paint clarity by correcting swirls, oxidation and surface defects.
Adam's Scratch & Swirl Remover 12oz
Adam’s Scratch & Swirl Remover safely removes scratches, swirls, and other minor defects and blemishes out of all types of paints. This easy to use formulation was specially designed with a blend of powerful, diminishing micro-alumina abrasives that disintegrate as they polish outworn, scratched, oxidized clear coat to reveal a lustrous finish.
- Easily Remove Scratches, Swirls & Paint Transfer
- Restores Paint Clarity & Depth
- Use via Hand or Machine for Versatility
- Safe for all Paint Types & Colors
- Smells Awesome!
Instructions via Hand:
- Start with a clean, freshly washed and dried vehicle.
- Apply two pea-sized drops of Adam’s Scratch & Swirl Remover to an Adam’s Orange Hex-Grip Polishing Applicator.
- Apply a thin layer of product in tight circular motions to one vehicle panel at a time, carefully spreading in a uniform consistency.
- With a dry Adam’s Microfiber Towel, gently buff each panel until clean and clear.
- Repeat for each panel around the vehicle until defects are satisfactorily removed.
For Use with Adam’s Swirl Killer Polishing System:
- Watch Adam’s Paint Correction Series videos to understand the state of the paintwork.
- Apply several pea-sized drops to a White Foam Polishing Pad and, using a dual-action polisher on medium speed, buff one vehicle panel at a time using light-to-moderate pressure and slow passes.
- As gloss becomes evident, lighten pressure and lower speed with faster passes.
- With a dry Adam’s Microfiber Towel, gently buff each panel until clean and clear.
- Repeat for each panel around the vehicle until defects are satisfactorily removed.
How to use
- Wash, decontaminate and dry the vehicle. Inspect the paint and mask sensitive trim and sharp edges before correction.
- Choose a compatible pad and begin with a small test section. Start with the least aggressive combination that gives the result you need.
- Spread a small amount of product at low speed, then work with controlled, overlapping passes. Keep the pad moving and monitor surface temperature; extra pressure is not a substitute for a suitable pad.
- Wipe residue with a clean microfiber towel and inspect under direct light. Clean or change loaded pads frequently and refine with a finer finishing step if needed.
Aftercare and maintenance
After abrasive correction, prepare the paint for your chosen wax, sealant or coating. Maintain the result with gentle washing and clean drying towels. Wash pads promptly, let them air-dry completely and store them away from grit. Polishing removes material, so avoid chasing defects that extend beyond a safe correction depth.
Will polishing remove every scratch?
Results depend on paint thickness, hardness, defect depth, pad choice and technique. Scratches through the clear coat and failing paint require repair rather than repeated polishing. A test spot helps establish a realistic result.
Complete your detailing routine
Choose compatible products for the next step of your detail: